
Building an ADU on a Former Pool Site in the Bay Area: What the Ground Needs
Planning an ADU where your pool is or was? Here is what the ground needs: full removal, engineered fill, a compaction report and the…
Quick answer
Pool removal in the Bay Area follows a predictable path: you choose partial or full removal, your contractor pulls a city permit, the pool is drained and utilities are capped, the shell is broken up, an inspector checks the work before fill goes in, and the site is backfilled, compacted and given a final inspection before the permit closes.
Related service: Pool removal services
This guide is for Bay Area homeowners who have decided, or nearly decided, that the backyard pool has to go. It walks through what you will see, hear and sign at each stage, from the first photos you text a contractor to the day the city closes your permit.
The details come from how Cicarelli Contractors runs Bay Area pool removal jobs across nine counties, from Contra Costa and Alameda to Santa Clara and Sonoma, plus the published rules of local building departments.
Two decisions shape everything that follows: what the yard will become, and whether the shell stays partly in the ground or comes out completely. If you might ever build an ADU, addition or deck footing where the pool sits, say so at the start, because that answer usually points to full removal and engineered compaction.
Partial removal (often called a fill-in) breaks out the top of the shell, punches drainage openings in the floor and fills the rest. Full removal hauls away the entire shell before backfilling. Neither is automatically right; it depends on your plans for the space and your city’s rules.
Some cities draw that line for you. The City of Millbrae, for example, allows partial removal only for landscape or garden areas and requires complete removal where a structure, driveway, patio or deck will go, according to its pool and spa demolition requirements. Our pages on partial pool removal and full pool removal explain each method in more depth, and the main pool removal service page covers both.
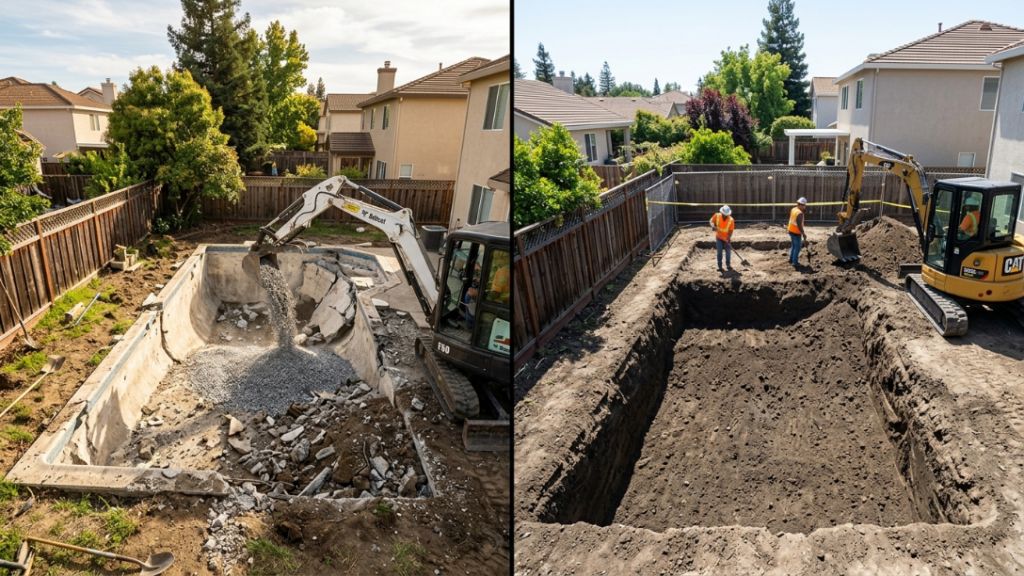
A good estimate starts with access, not the pool. The contractor needs to know how machines and trucks reach the yard, where debris and fill will be staged, and what is buried around the shell. Clear photos often answer these questions; when access is unclear, a site visit settles them before a number is written down.
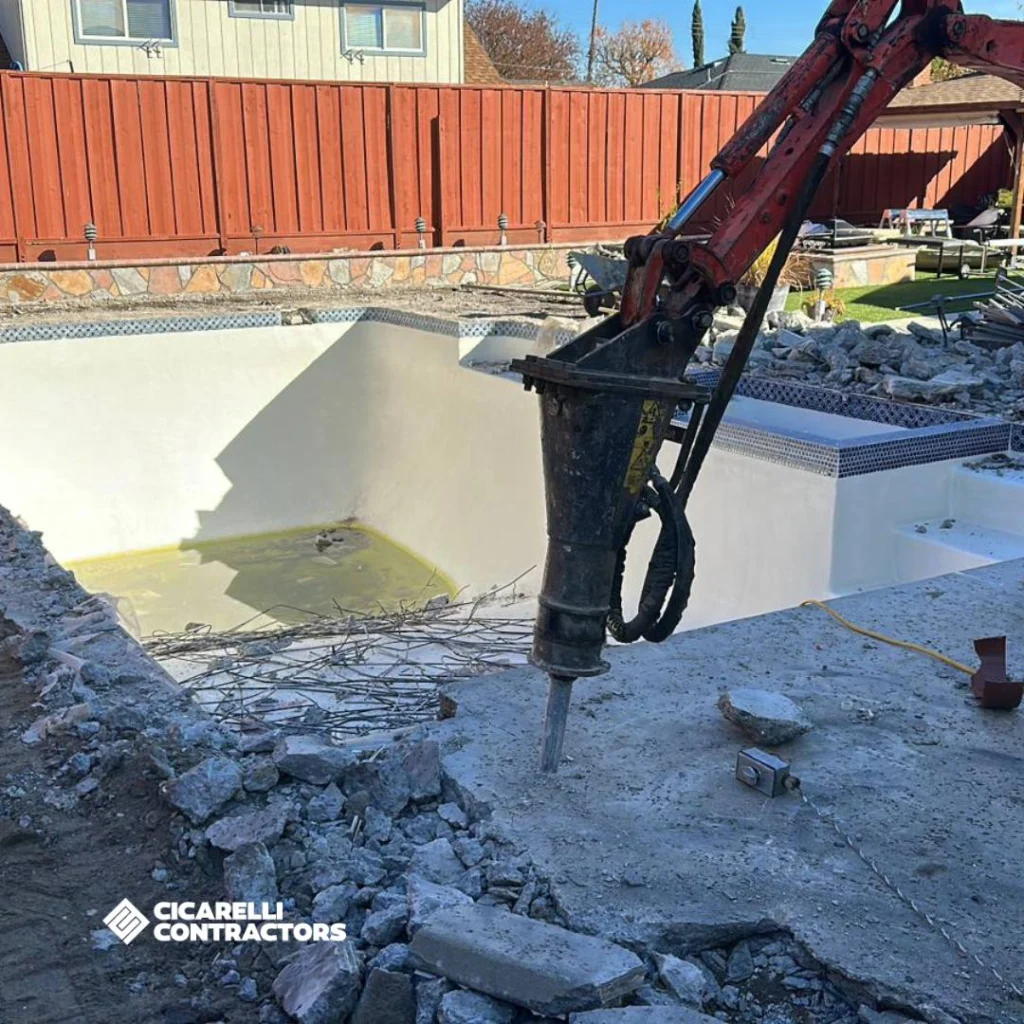
At Cicarelli Contractors we can quote from photos and offer a free site visit when access is hard to judge. Every estimate is free and written, and we send it within 24 hours. Expect the scope to list the removal method, what happens to the deck and equipment, the fill material, compaction, permit handling and the finished grade.
Ask who pulls the permit and whether a compaction report is included if the city wants one; our list of questions to ask a pool demolition contractor covers the rest. You can also confirm any contractor’s license on the CSLB website; ours is CSLB License #1109419, B General Building.
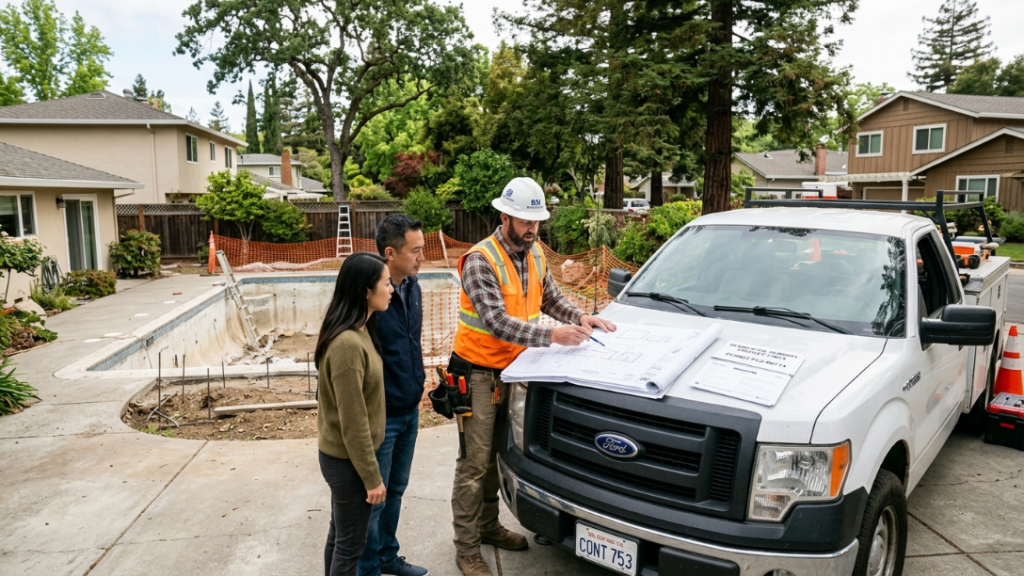
Nearly every Bay Area city and county requires a permit before a pool is demolished or filled, and the work must pass inspection before the permit closes. The application usually includes a site plan showing the pool’s size and distance to property lines and buildings, the removal method, and the fill material you plan to use.
Rules for pool removal in the Bay Area vary by city, so check your own building department. A few published examples:
We pull the demolition or building permit for our pool removal jobs and schedule the city inspections. For a city-by-city breakdown, read our pool demolition permit guide for California.
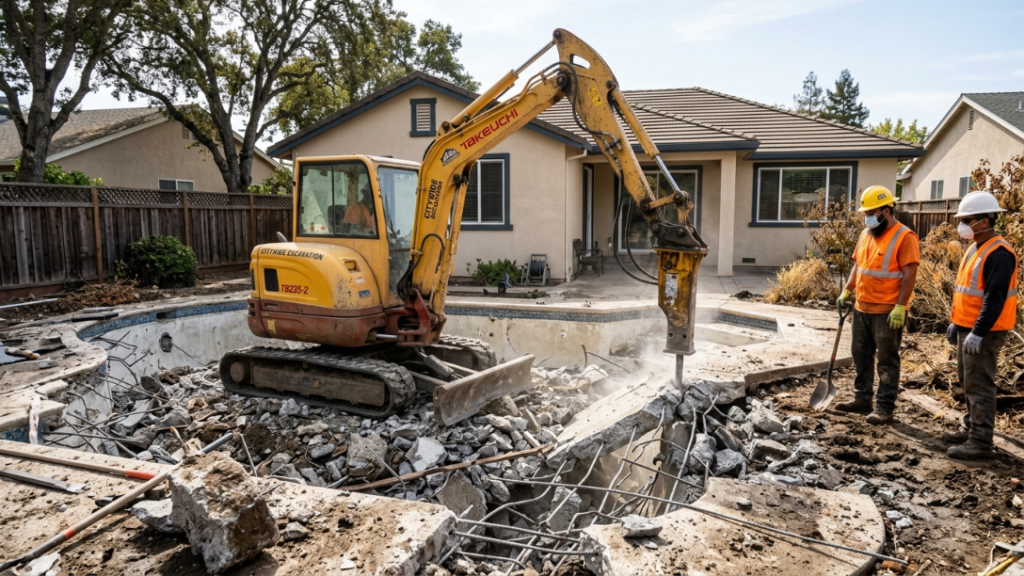
Demolition week is the loud part. The pool is drained, gas, water and electrical lines are capped or removed, the deck and shell are broken up with an excavator and breaker, and debris is hauled out. Expect machine noise during working hours, truck traffic at the curb and a fenced or taped-off work zone.
A typical sequence looks like this:
Access drives how this week feels. On a hillside the job slows down: one Google reviewer described a hillside pool with difficult access where the crew moved fill by wheelbarrow in 90-degree heat. Another mentioned getting photo updates by text while the work was underway, which helps if you are not home during the day.
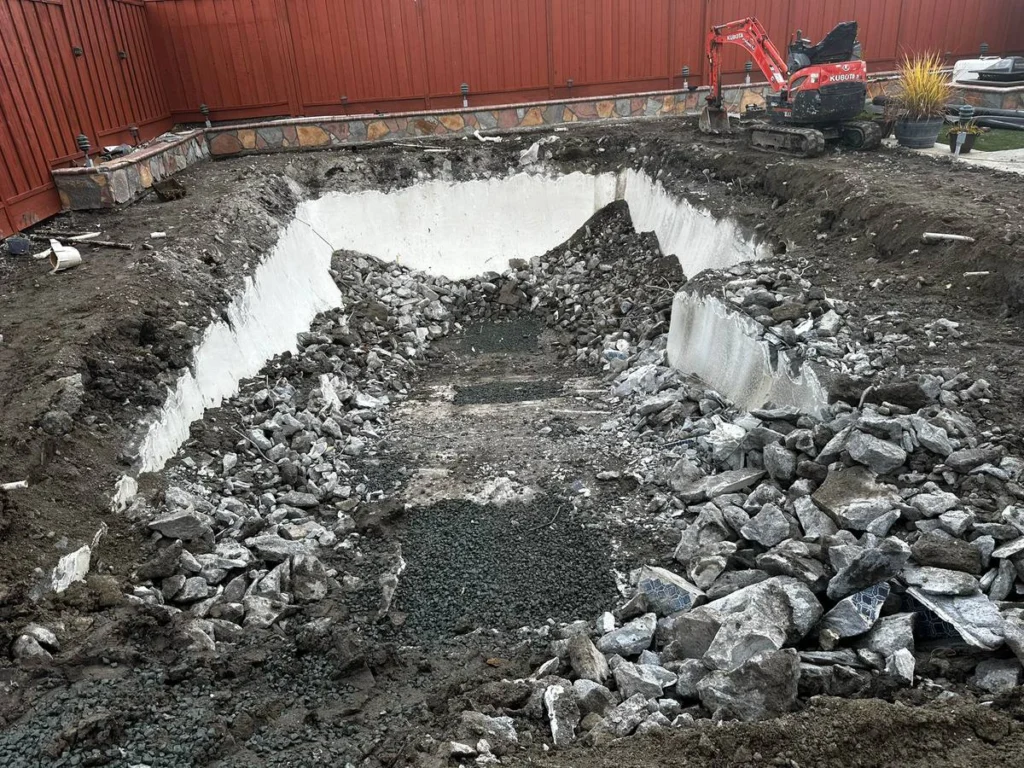
Most cities inspect at least twice: once with the shell broken and drainage openings visible, before any fill goes in, and again at the end. Crews pause because covering work before the first sign-off can mean digging it back out. On full removals, the city may also want a soils engineer’s compaction report before it finals the permit.
The Town of Danville is a clear example. Its pool demolition handout calls for 2-inch drainage holes about 2 feet apart, fill compacted to 90 percent in 12-inch layers, and at least two inspections, the first when the shell is broken and the holes are drilled.
Mountain View requires a compaction report from a California licensed geotechnical or soils engineer at final inspection; other cities ask only in certain cases. On our full removals, we provide the engineering compaction report when the city requires it, so the paperwork is ready when the inspector arrives.
| Stage | What happens | Your role |
|---|---|---|
| Estimate | Photos or site visit; written scope and quote | Share plans for the space, access details, HOA rules |
| Permit | Contractor submits site plan and method to the city | Sign the contract; answer any city questions |
| Prep | 811 locate, draining, utilities capped | Clear the work path; secure pets |
| Demolition | Deck and shell broken; debris hauled | Keep the driveway open for trucks |
| First inspection | Inspector checks the broken shell and drainage openings | None; the contractor meets the inspector |
| Backfill | Fill placed in layers and compacted | None |
| Final | Final inspection; compaction report if required | Keep the finaled permit and reports |
The calendar has two parts: paperwork and site work. Permit review is set by your city, from days to several weeks. The physical work is usually measured in days, depending on the pool type, access, removal method and how quickly inspectors can come out. Ask any contractor for a schedule that lists each stage separately.
Mountain View publishes a typical 5 to 8 business days to issue a pool demolition permit, but that covers the permit only. Hillside access, rain, a spa, a large deck or plan corrections can all add time.
We do not promise a fixed number of days, because inspections and weather are outside anyone’s control. One Google reviewer noted that our team explained everything and finished in 4 days when other contractors had quoted 2 weeks. Your project may differ; the written estimate lays out the expected sequence.
When the work is finished, you should have a permit marked final by the city, any compaction report the city required, and a clear record of whether the shell was partly left in place or fully removed. Keep these with your property documents, because buyers, lenders and future permit reviewers may ask for them.
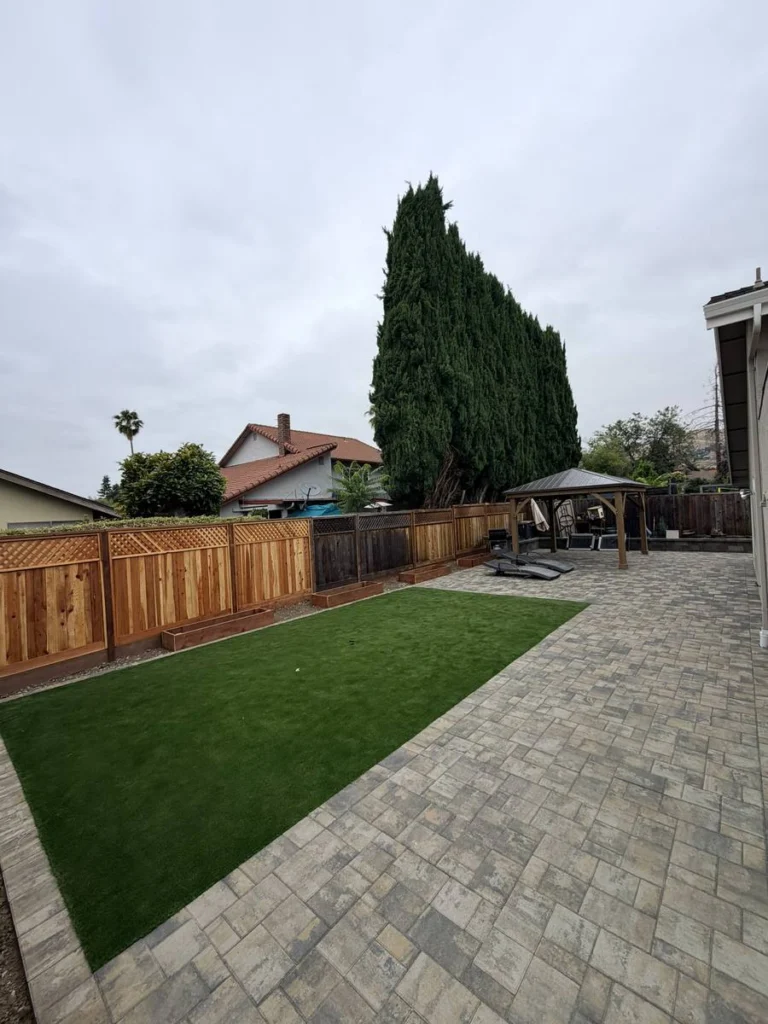
Then comes the new yard. Compacted soil can take turf, planting beds or hardscape, depending on the removal method and your city’s rules. Because one crew handles both the demolition and the new surface, we can plan the grade for a paver patio, artificial turf or garden from day one.

Get any warranty in writing as part of the contract; the CSLB explains what a home improvement contract should include. Our general construction and concrete work carries a 1-year workmanship warranty from the date of completion; details are on our warranty page. If you are still weighing methods, our comparison of pool demolition or fill-in can help.
Removing a pool makes sense when it sits unused, needs costly repairs or takes space you want for a patio, garden or ADU. It ends ongoing chemical, energy and maintenance costs. The tradeoff is losing a feature some buyers want, so weigh how you actually use the yard and your plans for the property.
Hire a licensed contractor to pull a demolition permit, drain the pool, cap the utilities and either break out the top of the shell and fill it (partial removal) or haul the whole shell away (full removal). The city inspects before backfill and again at the end, then closes the permit.
You can repair and keep it, fill it in with a partial removal, or remove it completely. Once removed, the space can become lawn, artificial turf, planting beds, a paver patio or, after a full removal with engineered compaction, a site for an ADU or addition, subject to your city’s approval.
Permanently closing a pool means a permitted demolition, not just draining and covering it. The contractor removes or breaks the shell, creates drainage openings in any floor left in place, backfills in compacted layers and passes the city’s inspections. A finaled permit is the record that the pool was closed properly.
Usually not. Most homeowners are present for the site visit and contract signing, then the crew works from the side yard while the contractor meets inspectors. You do need to keep the work path clear, secure pets and keep the driveway available for trucks. Ask your contractor how they will send progress updates.
Heavy equipment can mark lawns, pavers and sprinkler lines along the access route, so the scope should say what is protected and what is restored. A careful crew plans the access path, protects fences and hardscape, and keeps debris inside the work zone. Discuss shared fences with neighbors before work starts.
The fastest way to know what pool removal will look like at your property is a written scope based on your pool, access and city. Send us a few photos of the pool, the side yard and the equipment pad, and tell us what you want the space to become.
Cicarelli Contractors serves homeowners in all nine Bay Area counties, including Contra Costa County and Alameda County. Request your free, written estimate and we will send it within 24 hours.